Use Photo Presets as a Starting Point, Not a One-Click Finish
Tune color, white balance, tone, sharpening, and noise after you click.
 lifeindigitalfilm.blogspot.com · LifeInDigitalFilm: Tutorial: Presets, In Depth – Introduction
In 2009, photography blogger Michael W. Gray, who makes editing presets, wrote that he gets his best results after the click, not from the click itself.
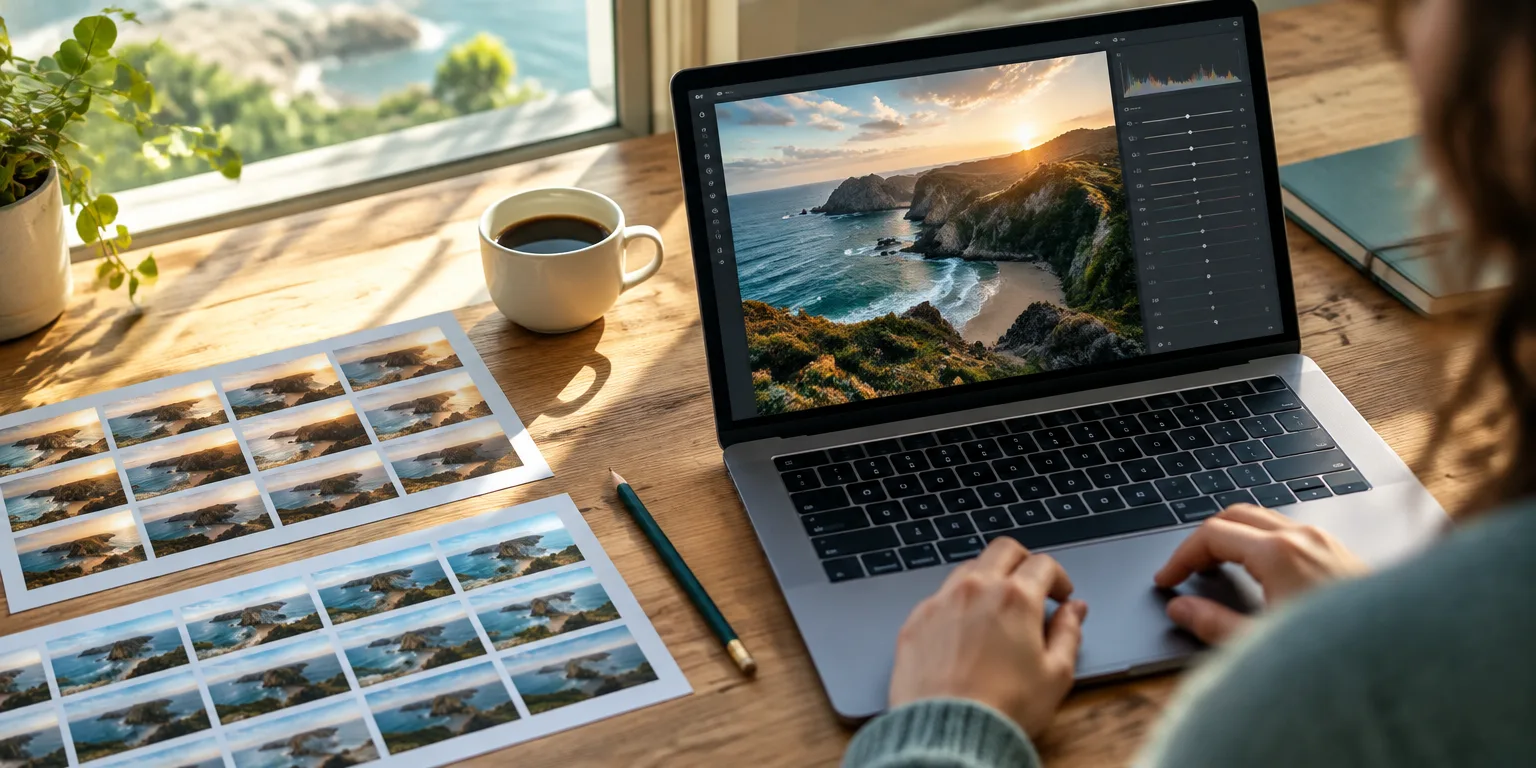
A preset, in his description, is a saved processing recipe. It stores the slider positions used to interpret a photo, often a raw file straight from the camera, so another photographer can reuse the same look in Lightroom, Adobe's photo editing program.
That reuse is the appeal. Hobbyists share presets freely, and others sell finely tuned versions, and it is tempting to pick an image, pick a preset, and declare the work done.
Gray wrote that the one-click result is useful for learning what a preset does, but it rarely gives the strongest final photo. His method was to apply the preset, then keep editing.
Start with color, white balance, and tone. White balance controls whether whites and grays look neutral or too blue or too yellow, and the tone curve is a tool for shaping brightness and contrast across shadows, midtones, and highlights.
Handle sharpening and noise reduction separately, and only when the image needs it. Sharpening crisps up edges, while noise reduction smooths the grain that appears in dark or high-sensitivity shots.
Then take a second look, even when the first click looks stunning. Closer review is often what turns a good image into a great one.
Questions people ask
Will the same preset look the same on every photo?
No. The same slider positions react differently to different light, skin tones, and exposure. That is why a preset that flatters a sunny portrait can look too dark, too orange, or too flat on a cloudy landscape.
How can I tell what a preset actually changed?
Look at what moved after you apply it. In Lightroom, the edited sliders shift positions and the change appears in the editing history, so you can see whether the preset touched exposure, color, contrast, or calibration.
Should I pay for presets?
Start with free or included presets to learn the workflow. Pay only for a preset whose before-and-after examples match the kind of photos you shoot, and treat it as raw material you will still adjust.